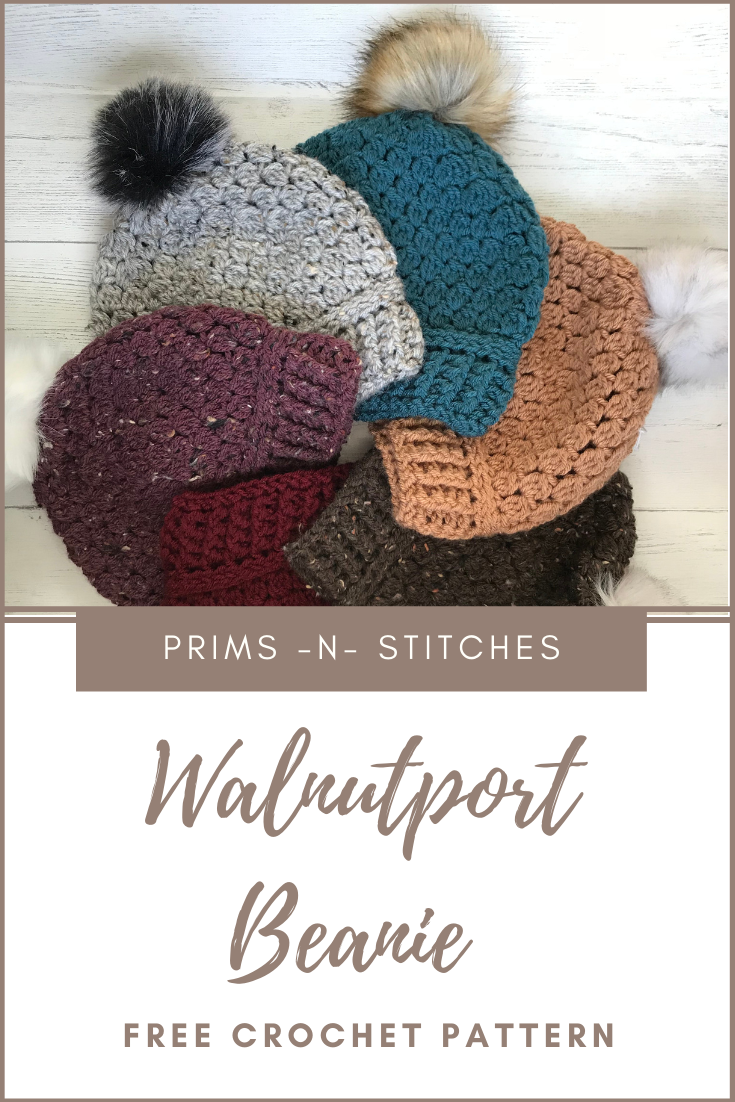
Today I would like to share my latest pattern, the Walnutport Beanie. I came up with this pattern during craft show season. I wanted something that was stylish but would work up quickly. This hat fit the bill for both criteria. I just love working with cluster stitches and adore the braided look of the transition between the brim and body of this hat.

Although the cluster stitch looks difficult to do when written out, it really is so simple. I have included photos in the PDF version (see below for links), but if you are having trouble following there are tons of Youtube videos that can help you out, just search the name of the stitch. This pattern was designed to fit an average sized woman but it is very stretchy so it will most likely fit a larger head. I did try this on my 12 year old daughter and it fit like a slightly slouchy hat.
This pattern is available as an ad-free printable PDF on Ravelry or Etsy. The printable PDF has photos of the cluster stitches and decreases.

I absolutely love the way this hat works with this chunky scarf I made a few years ago. It is such a simple design but has the same braided look details. Maybe I will have to share that pattern in a future post?

Walnutport Beanie
Abbreviations/special stitches used:
SLST- slip stitch
yo- yarn over
CH- chain
SC- single crochet
HDC- half double crochet
STS- stitches
3rd loop- back bar of half double crochet, also known as camel stitch.
FPDC- front post double crochet
BPDC- back post double crochet
3DCCL- 3 double crochet cluster- (yarn over, insert hook into stitch, yarn over, pull up a loop, yarn over, pull through 2 loops) 3 times, yarn over pull through all 4 loops on the hook.
2CLTOG- 2 double crochet clusters together; decrease- (yarn over, insert hook into stitch/space, yarn over, pull up a loop, yarn over, pull through 2 loops) 3 times, you will have 4 stitches on your hook. Repeat from ( – ) in next stitch/space 3 more times, so you will have created 2 clusters with 7 stitches left on your hook. Yarn over and pull through all 7 stitches.
- Once you begin round 7 your starting chain will count as the first “leg” of your cluster stitch. This will also cause your starting 3DCCL or 2CLTOG of each row to have one less loop to pull through (than mentioned above).
FDC- foundation single crochet- using this technique will help add to the stretchiness of the brim. There are many tutorials found online. If you are not comfortable with this technique you can start your first row with a loose chain of 55, join, single crochet in each stitch around, then start Round 1.
Yarn: Any worsted weight (4) yarn will work. I absolutely LOVED the way the Earthtones by Nicole Stitch Studios found at AC Moore worked up with this pattern. I also successfully used Hobby Lobby’s I Love This Yarn, and Vanna’s Choice by Lion Brand. If you will be using a thicker WW yarn such as Red Heart with love you might need to go down a hook size.
Hooks: K (6.5mm)
Finished Size: Will fit teen-adult size.
NOTE: Beginning chains do NOT count as stitches until you start making clusters in round 7. Join all rounds into the first stitch of the row, not the chain. Start the first stitch in the same space as join.
Instructions:
To start, FSC 55, join. Please see notes above if you are not familiar with FSC.
Round 1-4: CH 2; FPDC in 1st stitch, (BPDC in next stitch, FPDC in next stitch) around. (55 sts) Your brim should measure appx. 9′ across.
Round 5: CH 1; BPHDC in each stitch around. (55 sts) For this row, instead of going around the whole post, I only go around the top part of the stitch, directly under the V’s. (photo in PDF version)
Round 6: CH 1; SC in 3rd loop of each stitch around. (55 sts)
Round 7: 3DCCL in same stitch as join, *CH 1, skip 1 st, 3DCCL in next stitch.* Repeat from * – * around. (28-3DCCL sts)
- From here on you will be joining to the top of your beginning cluster stitch.
Round 8-10: SLST into the space between your beginning and first cluster stitches. 3DCCL in each space around, making sure to chain 1 in between each cluster. (28 3DCCL sts)
Round 11: SLST into the space between your beginning and first cluster stitches. *2CLTOG, CH 1; [3DCCL in each of next 5 spaces, making sure to chain 1 in between each cluster. ]* Repeat from * – * around.
(You will have 4- 2CLTOG and 20- 3DCCL when finished.)
Round 12: SLST into the space between your beginning and first cluster stitches. *2CLTOG, CH 1; [3DCCL in each of next 4 spaces, making sure to chain 1 in between each cluster.] * Repeat from * – * around.
(You will have 4- 2CLTOG and 16- 3DCCL when finished.)
Round 13: SLST into the space between your beginning and first cluster stitches. *2CLTOG, CH 1; [3DCCL in each of next 3 spaces, making sure to chain 1 in between each cluster.] * Repeat from * – * around.
(You will have 4- 2CLTOG and 12- 3DCCL when finished.)
Round 14: SLST into the space between your beginning and first cluster stitches. *2CLTOG, CH 1; [3DCCL in each of next 2 spaces, making sure to chain 1 in between each cluster.] * Repeat from * – * around.
(You will have 4- 2CLTOG and 8- 3DCCL when finished.)
Round 15: SLST into the space between your beginning and first cluster stitches. *2CLTOG, CH 1; 3DCCL in next space, CH 1 * Repeat from * – * around.
(You will have 4- 2CLTOG and 4- 3DCCL when finished.)
*FINISH OFF, LEAVING LONG TAIL TO SEW TOP OF HAT CLOSED AND WEAVE IN ENDS*
© 2018 Prims -N- Stitches All Rights Reserved. Please do not copy, resell or distribute my patterns or the pictures within, on or offline. Share the link instead of the pattern. Feel free to sell finished items made by using this pattern, and please give credit to me as the pattern designer. If you would like to use this pattern as part of a round up please link back to this page, not my ravelry store. Thank You.