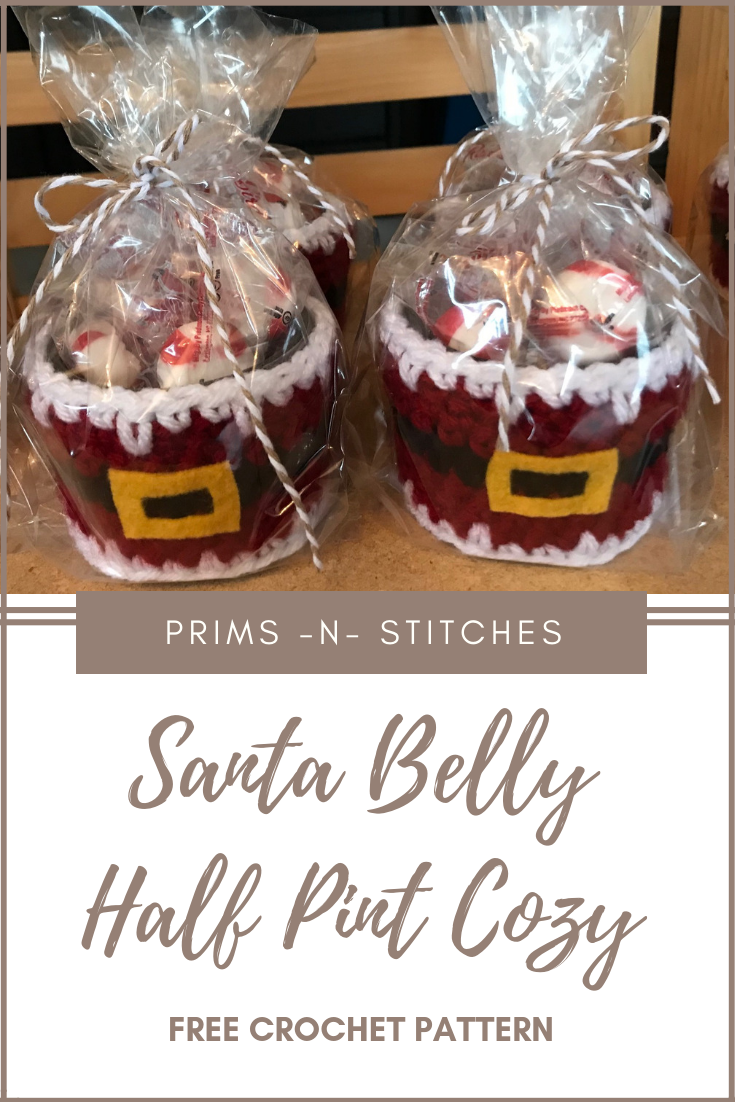
Hello! I hope everyone is just about done getting ready for Christmas! I really wish I could say that I was, so much left to do! Today I would like to share this easy Santa Belly Cozy that I designed to fit around a 4 oz jelly jar. From start to finish it took me about 30 minutes, so they make the cutest little last-minute gifts for teachers, co-workers, bus drivers, etc. To package, I filled them with melt away peppermints, and placed them inside a guested treat bag. i then tied a simple bow with some bakers twine and trimmed the top of the bag so it wasn’t so tall. I just love them, but then again, I love myself some Santa bellies 🙂 I did use a spike stitch for the white trim, you can look at YouTube tutorials to see how to do it, although I will try to explain below. You can also just single crochet around, or use a fuzzy yarn for the trim.
Get a printable PDF, available on Ravelry, it includes all pictures.

Materials Needed:
- Small amounts of red, black, and white worsted weight yarn
- size H crochet hook
- Tapestry/yarn needle
- Gold/yellow colored felt
- 4 oz jelly jar
- Hot glue gun or thread for sewing belt buckle on.
Stitches Used:
- ch- chain
- slst- slip stitch
- sc- single crochet
- hdc- half double crochet
- spike- half double crochet in a stitch from previous row
- sts- stitches total
Pattern:
Round 1 & 2: With an H hook and red yarn, loosely chain 28. Turn, SC in 2nd ch from hook and remaining stitches. Bring ends together and slst to 1st sc made. (27 sts)
*All rounds will be joined to the top of the 1st stitch made in each round, First stitch of each round is in the same stitch as join.

Rounds 3 & 4: with RED yarn, CH 1, SC in same stitch as join and each stitch around. (27 sts)
*switch to BLACK yarn after row 4*
Rounds 5 & 6: with BLACK yarn, CH 1, SC in same stitch as join and each stitch around. (27 sts)
*switch to RED yarn after row 6*
Rounds 7, 8, & 9: with RED yarn, CH 1, SC in same stitch as join and each stitch around
- Finish off after join. Weave in ends. Take your tapestry needle and sew together the space between your beginning chain from row 1. Secure and weave in ends.
- At this point your cozy should measure appx. 3.5″ wide and 2.25″ tall.

White trim: You can just SC around the top and bottom with white worsted weight yarn or white fuzzy yarn. I used the spike stitch with worsted weight yarn, here’s how:
Join white yarn at the seam and chain 1. SC in same stitch as join and next stitch, so you will have 2 white SC stitches. Next, spike stitch (HDC in the stitch from the row below working row- see photo below). [SC in next 2 stitches, spike stitch] repeat [-] around. Join to 1st sc made. (27 sts)

You are going to do the same thing for the bottom of the cozy, the spike stitch will be a bit shorter because you are working in the beginning chain/first row for your sc and spike stitches. It will still look great when it’s all together. Weave in all ends and you are finished with the crochet part!

It should fit snugly around your jar.


Now for the buckle, I just cut a small rectangle out of gold felt, then cut the center out of the rectangle to resemble a buckle. Just be sure you make it wide enough so that when you glue/sew it on you will have enough working space. Also, you want to make sure no red shows through the center of your buckle. You can also just embroider or surface crochet one, however I tried these other methods and found the felt just had a neater/cleaner look to it.
Hope you enjoy these little things as much as I did!
-Erin-